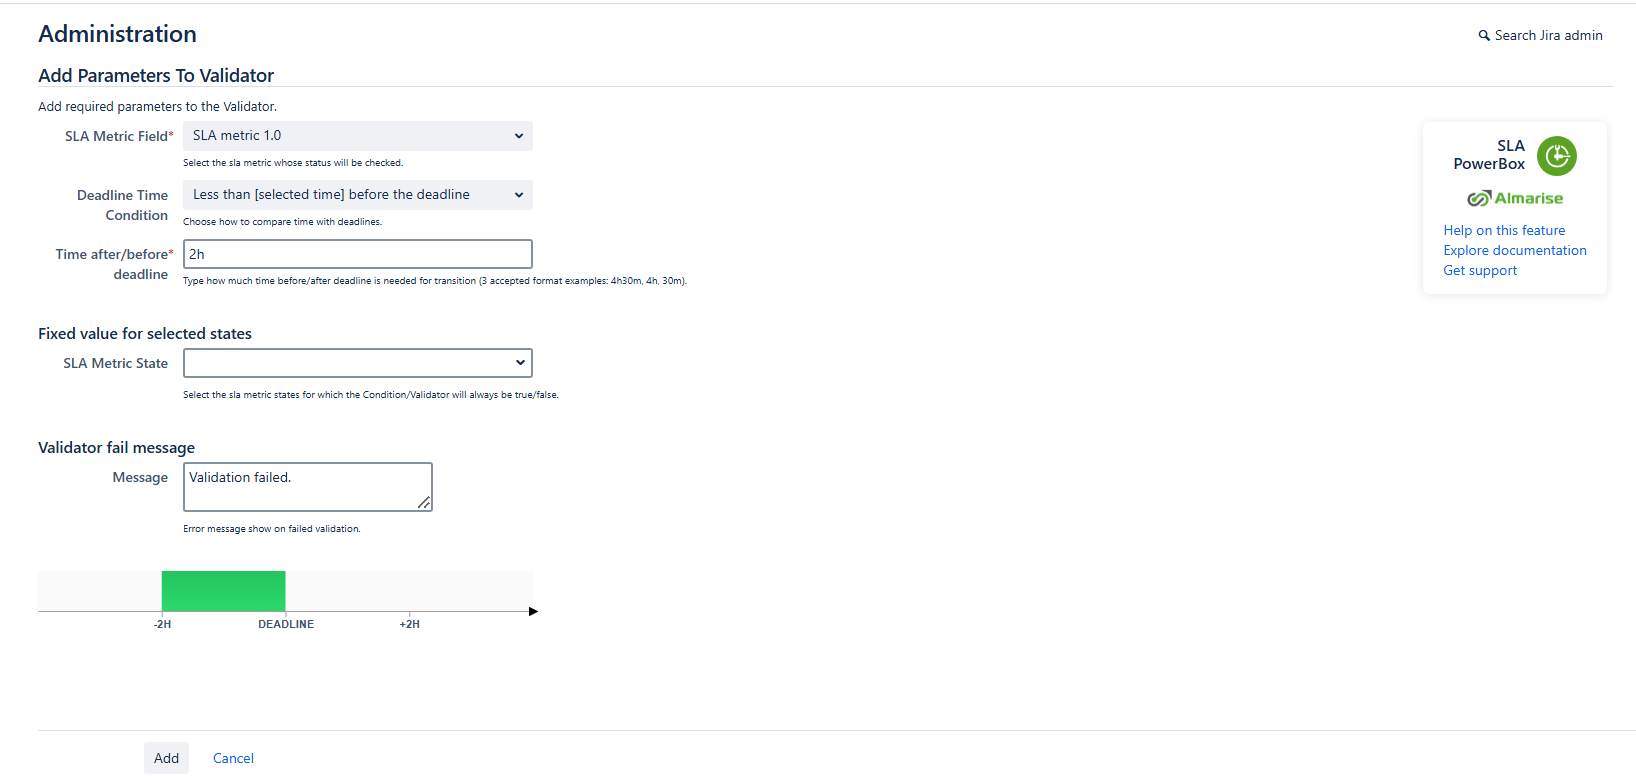
Validator configuration
- Go to the Project settings page → Workflows → Actions → click Edit.
- Go to Validators on the selected transition → click Add condition.
- Locate SLA metric deadline validator by SLA PowerBox → Add.
- Select the SLA metric.
- Pick the deadline time condition:
- At least [selected time] before the deadline.
- At least [selected time] after the deadline.
- Less than [selected time] before the deadline.
- Less than [selected time] after the deadline.
- Define the time after/before the deadline for the condition selected in the previous step.
- Optionally add a fixed value (e.g. validator is always true/always false) for a specific SLA state.
- Add the message to be displayed in case of validation failure (optional).
- Click Add and publish the workflow.

{"serverDuration": 139, "requestCorrelationId": "6a4728f9aaaf3f66"}
